How to replace stove rope
Whilst you may not see your stove rope when you relax in front of the fire, it serves an integral purpose in your stove. Knowing how to identify stove rope degradation, when to replace a degrading stove rope, and how to complete the job yourself will ensure your wood burner can continue to burn efficiently and safely.
What is a stove rope?
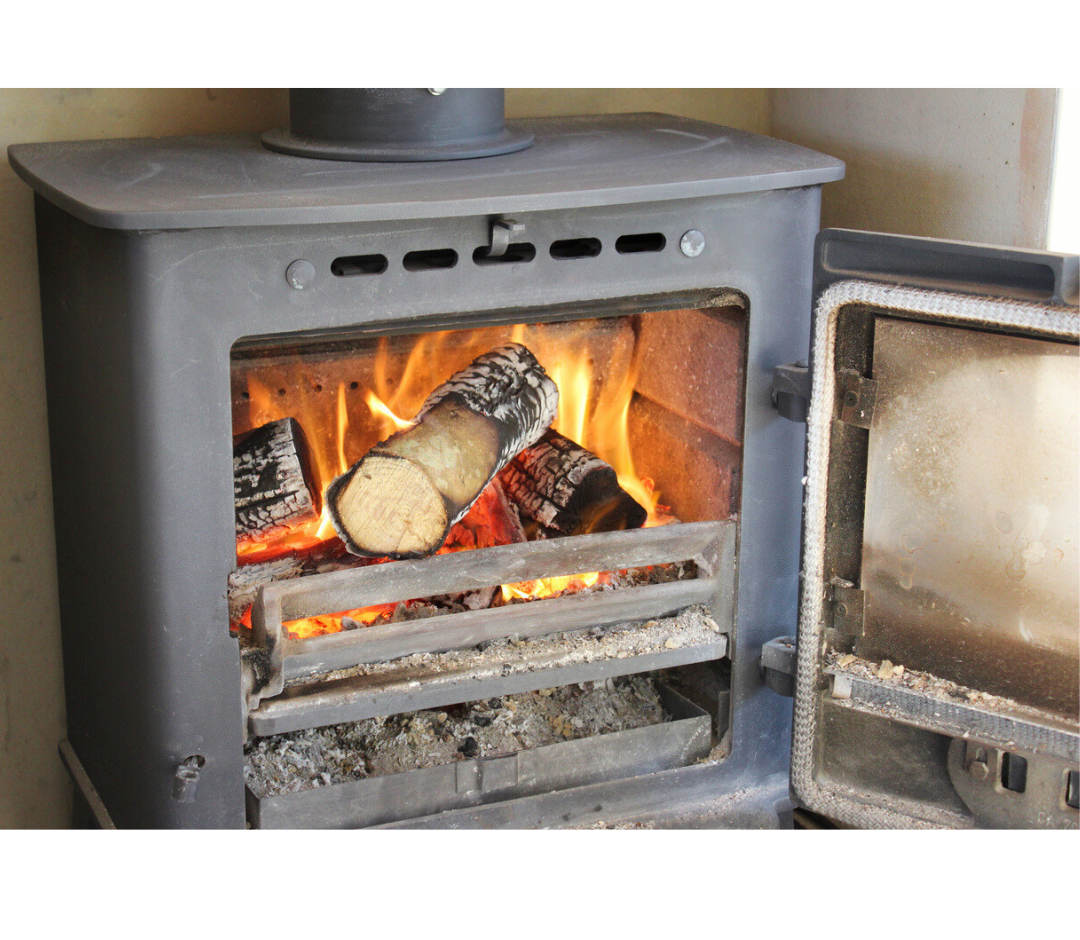
Your wood-burning stove contains a stove rope (also known as a fire rope) on the inside of the door. The stove rope is an essential part of your appliance as it creates an airtight seal that simultaneously prevents unwanted air from entering your appliance and keeps the warmed air in your appliance. If your appliance has excess air intake, it can cause your stove to burn excessively – this will drastically increase the fuel you burn through and can potentially cause overfiring. Keeping warmed air in your stove allows more heat to radiate for longer, increasing overall heat output.
Your appliance’s stove rope looks as you would expect, resembling a woven rope that is usually composed of heat-resistant glass fibres. This rope is cut to size from a longer length so it can perfectly fit your appliance. The stove rope is one of your stove’s consumable components – a material that will degrade over time and need replacement.
Use a HETAS Registrant
If you don’t feel confident replacing your stove’s rope seal yourself – or you simply lack the time – contact your local HETAS Approved Servicing Technician to organise a visit. They have the expertise, experience, and knowledge to provide you with advice or complete the task themselves, ensuring your stove can keep running efficiently and safely.
Equipment needed to replace a stove rope
The following equipment is required when replacing your stove rope:
- Stove rope – this is your new stove rope that will be replacing your degraded one and can be purchased from a HETAS Approved Retailer near you.
- Wire brush – a wire brush (or another suitable scouring tool) is used to clear debris and any remaining fibres from your stove door.
- Gloves – as the fibres in a stove rope can irritate your skin, gloves are needed to keep your hands protected during replacement and debris clearing.
- High-temperature rope adhesive – a special type of adhesive is required to adhere rope to your stove door securely – this adhesive will keep the rope in place whilst withstanding the high temperatures of your fire.
- Scissors – sharp scissors to achieve as clean a cut as possible will ensure minimal fraying.
- End sealing tape – temperature-resistant tape covers any potentially frayed ends from your stove rope as it is cut to size.
- Eye protection – eye protection is important if you are using a drill with a wire brush head to remove debris.
Necessary checks
Your stove must be fully cooled before you attempt to replace the stove rope – as with any other servicing and maintenance.
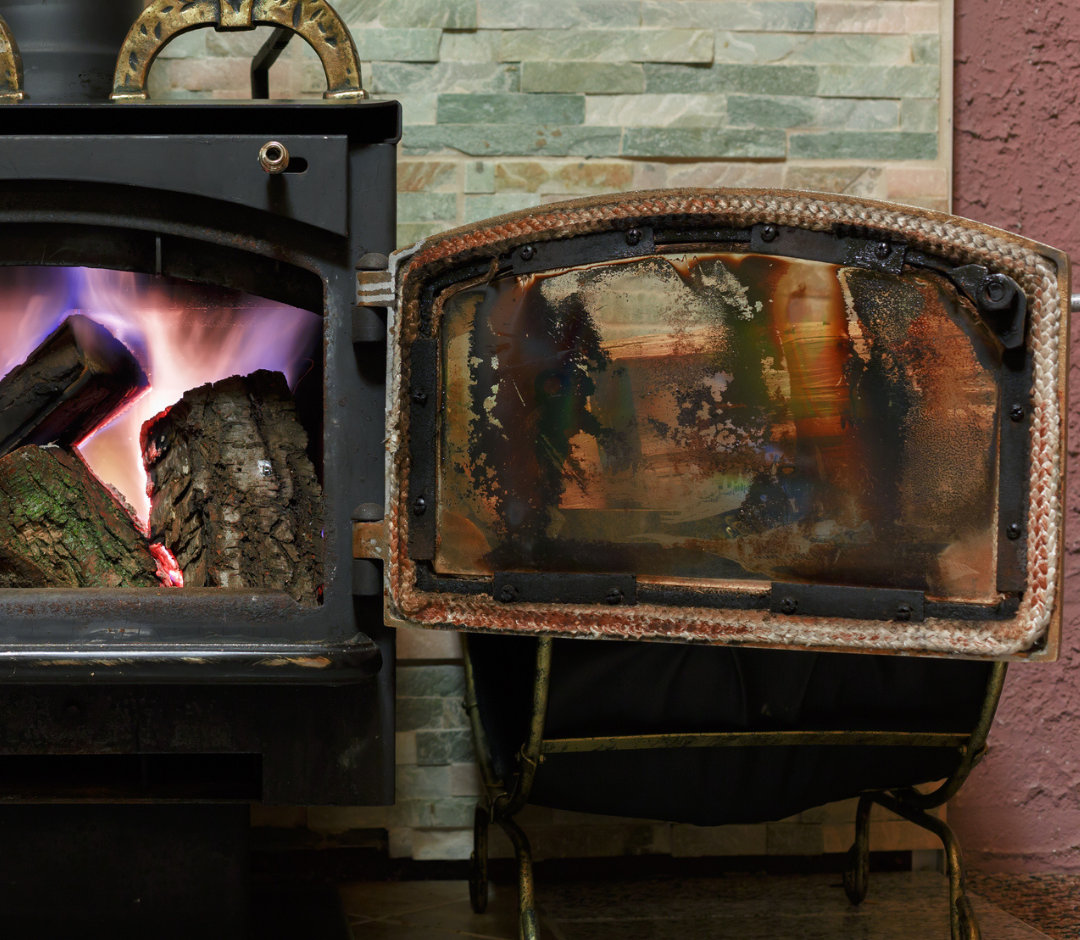
Whilst it may not always be feasible, it is advisable to remove your stove’s door when replacing your stove rope – this can make the task much easier and eliminate the possibility of adhesive running down the door.
Removing the stove glass can also aid in fitting a new stove rope and some appliances may require this, but it is not always necessary. If you choose not to remove your stove glass, it is extremely important that you lay your stove door on a flat, soft surface so that you don’t damage – or potentially shatter – the glass.
How to replace a stove rope
- When your stove has cooled, remove the door (and glass, if applicable) where possible.
- Remove the old stove rope. The way your stove rope is affixed to the door will vary depending on your appliance – some can be pulled off by hand, whereas some may be fixed with screws, requiring the stove glass to also be removed.
- Use a wire brush (or another suitable scouring tool, such as a drill with a wire brush wheel head) to thoroughly remove all leftover debris and fibres from the indentation.
- Using your new rope, measure out the length needed to cover the perimeter of the door, using scissors to cut a length slightly longer than needed.
- Evenly apply the rope adhesive to the indentation in your stove door, lining the entire perimeter.
- Starting with the centre of the rope in the middle of the indentation, set the stove rope into the glue-lined indentation. Carefully apply pressure as you set the rope down, firmly affixing it to the glue whilst taking care not to stretch the rope.
- Once the rope has spanned the stove door, there will be a small length of excess rope. Use scissors to cut off this excess, wrapping the end of the rope with your end sealing tape to prevent any fraying. Fit this final length of rope to your stove door, closing the perimeter.
- Apply pressure across the entire rope seal again to confirm your rope is securely in place, using a damp cloth to wipe away any excess glue that has seeped out.
- Refit your stove door (and glass, if applicable) once the drying time of your adhesive has elapsed.
- Check your stove’s manufacturer’s instructions to find when you can next light your fire – do not light your fire until it is safe to do so.
How can I tell if my stove rope needs replacing?
It is advisable to replace your stove rope annually, but yours may need replacement at irregular intervals depending on your burning habits and appliance specifications.
Telltale signs
- Your fire is burning much hotter or quicker than expected
- The stove glass on your appliance is consistently dirtied
Visual clues
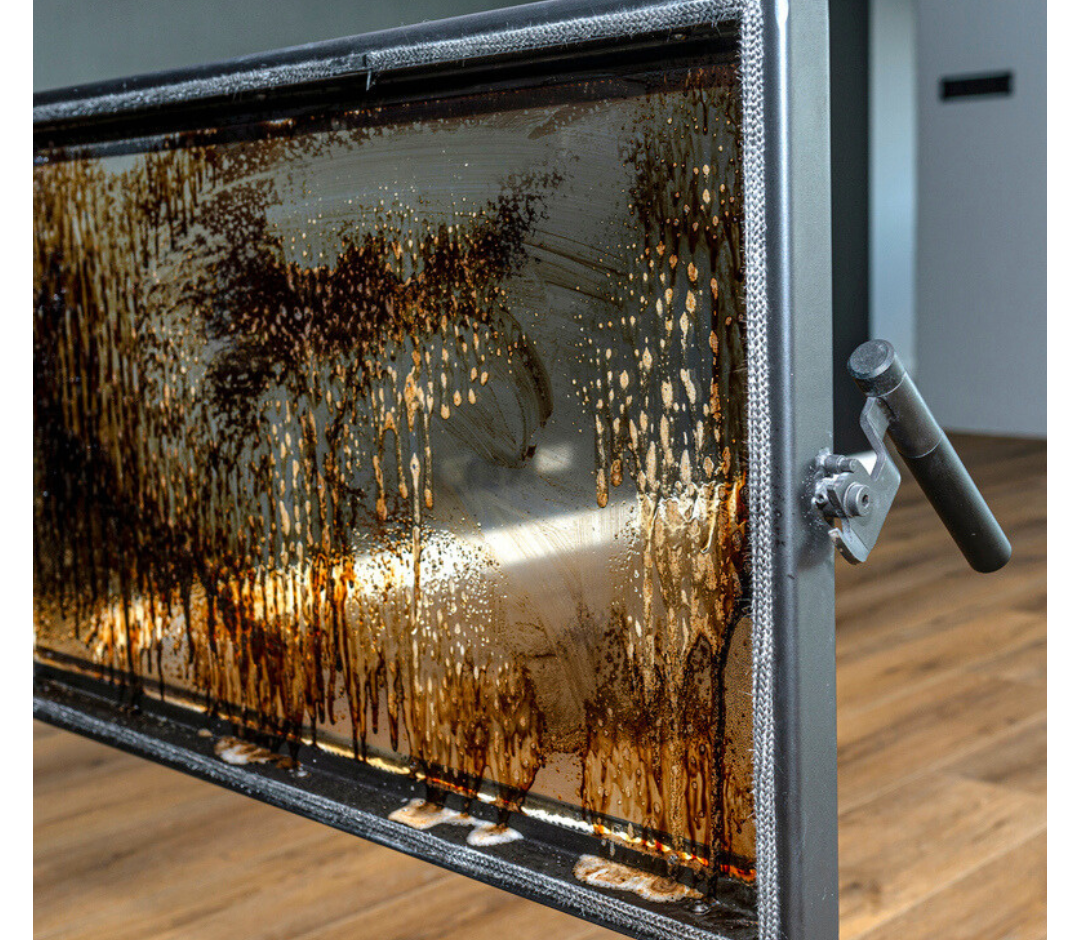
- Frayed or deteriorated stove rope
- Stove rope is compressed and no longer fills the groove in the stove door
A degrading stove rope causes excessive air to enter your appliance. Signs that your appliance has excessive airflow can be a sign of stove rope degradation and warrants a visual inspection of the rope.
Neglecting your rope seal will result in lower fuel efficiency and can potentially damage your appliance as your stove overfires. Taking care of all the components of your wood burner will provide you with a safe, efficient burn.
The door seal paper test
A simple test you can do to instantly see if your stove rope needs replacing is known as the paper test:
- Wait for your stove to fully cool
- Open the door and hold a piece of paper at the entrance, closing the door and trapping the paper in it.
- Attempt to pull the paper out of the closed door, noting any resistance you feel.
- Repeat steps two and three across all sides of the stove door.
If you feel minimal or no resistance, this is a sign that your stove rope has deteriorated and needs replacing. There should be resistance around all sides of your stove door as you try to pull the paper out.
What size stove rope do I need?
Different appliances will have varying stove rope diameter requirements. The size of the indentation in the appliance door will mean that some rope diameters will be too large or too small, causing issues if the incorrect size is fitted.
Following the manufacturer’s instructions will ensure you purchase the correct size stove rope for your appliance. Measuring the diameter of your existing stove rope will also provide you with an estimate of what size you need, but if you are ever unsure, contact the manufacturer to receive guidance and the correct measurement required.
Additional tips
- Use old sheets or towels as the surface for your stove door to lay on as you replace the stove rope. This will both contain the mess of any residual debris that collects as you clean, as well as protecting the stove glass if you do not remove it.
- Close your stove door carefully once the adhesive has set and been refit. If you feel resistance when trying to close the stove door, do not attempt to close the door any further. It is likely that a section of your rope seal has bulged out and needs to be pushed further into the indentation.
- Fixing degrading stove rope can often be more difficult than replacing the entire rope.
- Your rope seal functions by creating an airtight seal so it is essential that you leave no gaps within the indentation, forming a closed perimeter around your stove door.
- Different adhesives have different setting times – consult the manufacturer’s instructions to ensure your adhesive has sufficient time to set before you refit your stove door and light a fire.
- If you have access to a combination drill and a wire brush wheel head, these can be also be used to clean out debris. Eye protection is essential when using this method of cleaning as dust and debris can be expelled towards your face.
- Each stove is different. Some appliances will have less defined indentations, making it difficult to ascertain where to fit your new stove rope. The manufacturer’s instructions will contain detailed guidance on how – and where – to fit a new stove rope.
- Asking your HETAS Approved Chimney Sweep or HETAS Approved Servicing Technician to replace your rope seal during your bi-annual sweep or annual service ensures your stove is kept in top shape year-round.
The HETAS Advice Hub has a range of tips to help you get the most from your stove.